Original image by - Beth Icard
My grandfather was an inventor, and one of the last times I ever saw him, he made a special "appointment" with me to talk about the work he had done in his life. At the closing of our discussion, he gave me a slide of Thomas Edison that he had always loved. I never have had the opportunity to see what the image on the slide actually looked like when it was properly scanned, and I wanted to take this chance to play with it a little.
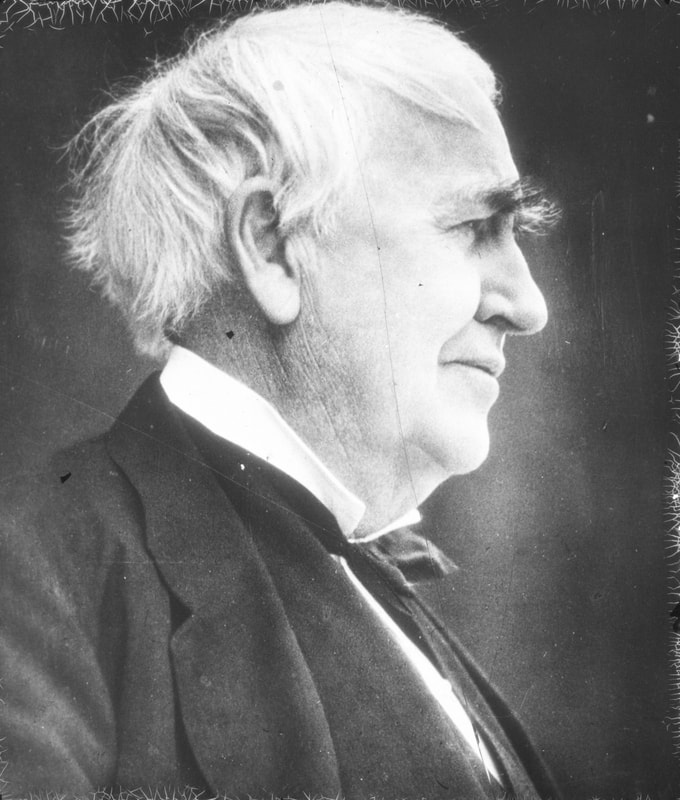
Untouched scan - I have no idea who originally took the photo; that information is long gone, or I would credit it
|

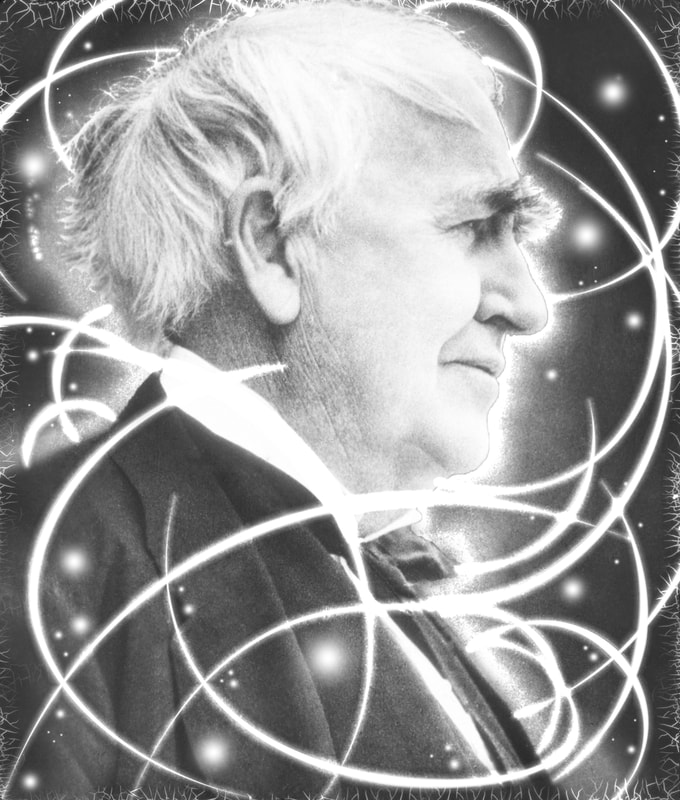
Restored photo
|
My family has a printer which is capable of properly backlighting and scanning slides, but I have never personally used it. Turns out, it was a much more difficult process than I expected. The printer is simple, but, unfortunately, the slide I was using isn't regulation-sized somehow, so it didn't fit properly into the designated slide windows on the scanner bed. I ended up playing an exhausting guessing game of inching the slide around and scanning a tiny portion at a time. Eventually, I had the sum total of the image spread across sixteen different scans. I used the photomerge tool in Photoshop to stitch them all together and it spit out the above left image when it was done. I still didn't get the edges perfectly, but it was about as close as I could get.
Obviously, the image is really damaged. The slide itself is cracked in at least three places (not my fault, by the way -- it was like that when I got it) and I'm guessing that the film originally was damaged with dust and whatever else. What a nice opportunity to use the retouching tools we learned this week!
Obviously, the image is really damaged. The slide itself is cracked in at least three places (not my fault, by the way -- it was like that when I got it) and I'm guessing that the film originally was damaged with dust and whatever else. What a nice opportunity to use the retouching tools we learned this week!
Process:
- I mostly used the healing brush tool to fix the cracks and the imperfections and the flecks of dust and whatnot. It usually worked the best, although in some spots I used the clone stamp tool.
- Speaking of the clone stamp, I used the clone source panel to repair the edges and fill in the crackling where it was absent on the slide or hadn't been caught by the scanner. Even though technically it's "damage," I actually liked that effect, so I wanted it to be more or less consistent around the edges. I rotated and flipped and resized the stamp as I went so it wasn't completely obvious that I was reusing pre-existing cracks.
- I wanted to play with the image more, so I ran with the idea of Edison and light bulbs and light.
- First I selected the Edison outline and added an outer glow.
- Then I used bits and pieces of ideas from here and here to figure out how to add light streaks. I didn't follow either website's advice exactly, but that's where I learned how to even go about accomplishing what I was attempting. I used the curvature pen tool (which might be brand new with the latest update?) to create the paths for my streaks.
- I used the "40 sampling tip" brush set at 1% spacing with the brush size control set to "pen pressure," and then stroked the paths.
- I added an outer glow to the streaks, and then finished off with some little floating light specks and spheres for funsies.
Design thoughts:
- I was worried that just restoring the photo alone wasn't quite enough for this assignment, and besides, I wanted to have a little fun with the image.
- I started out trying to make the light streaks a kind of glowy yellow, but that looked really weird on the black and white image, so I kept it monochrome instead.
- I aimed for pleasing repetition with the shape of the light streaks, but I also wanted to break them up with the occasional contrasting one.
